
 Here is a quick and easy DIY tutorial for a character autograph mat. Sure you can always go with a book but it’s so much fun to think outside of the box and get creative. I decided that for my most recent trip that this time I didn’t want to use the standard books to get autographs from my favorite Disney characters. After much thought and hours wasted on Pinterest, I came to the decision that I just wanted to have a photo mat signed. It was my boyfriend’s (now fiance) first trip and I knew I’d want to put up a photo to commemorate the occasion. I wanted a large mat. I didn’t think about how annoying it would be to carry around and take on rides the whole time.
At first, I contemplated using a smaller mat so that it would fit in my bag but quickly scrapped that idea. It wouldn’t hold as many signatures then. Then I thought, “Maybe poster board.” I could roll it up. I tossed that out the window when I realized that it would crease and not really survive in my bag. Finally, while I was at a craft store, inspiration struck! I rushed over to the children’s aisle and found it. A foam sheet! Foam could easily be rolled but wouldn’t crease.
Step 1:
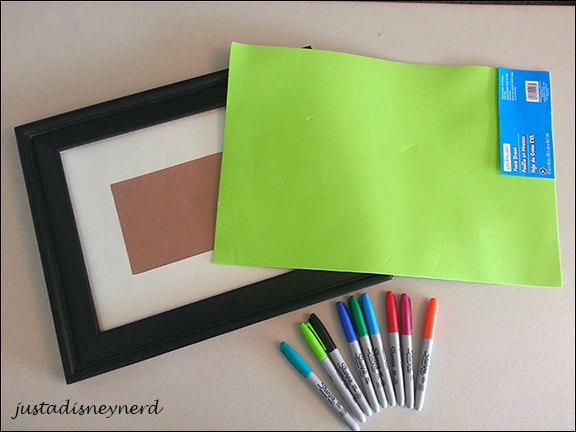
First off, you need to purchase a foam sheet. I used white but feel free to use any color! You’ll also need a picture frame. I used one that I already had in the house. Just make sure that you have the same frame you plan to put the mat in before you go.
Step 2:
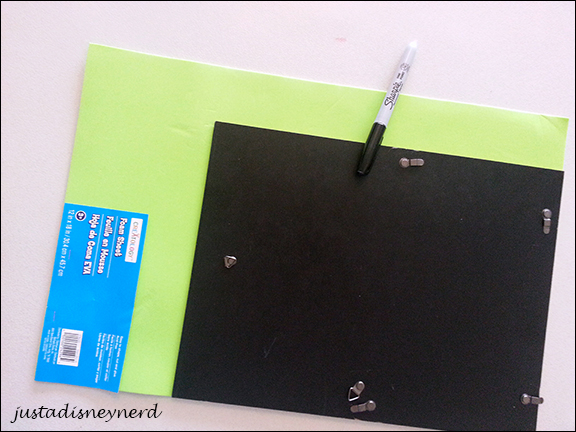
Use the back of the frame to trace the correct size for the photo mat.
Step 3.
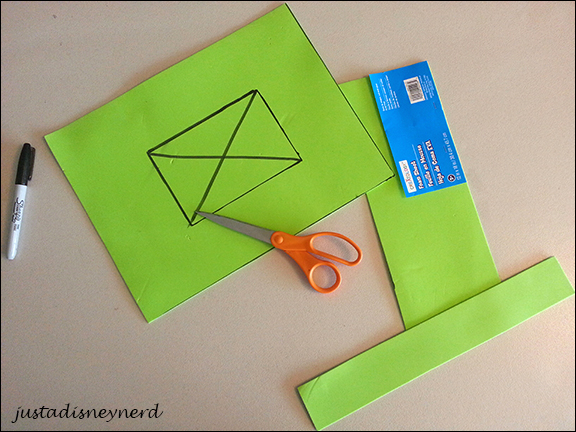
Cut out the shape. Next you will trace the size that you want the photo to be in the middle. (Remember to make it slightly smaller so that the photo fits behind.) Place a large “X” in the middle. This is so that the characters know NOT to sign there.
Step 4:
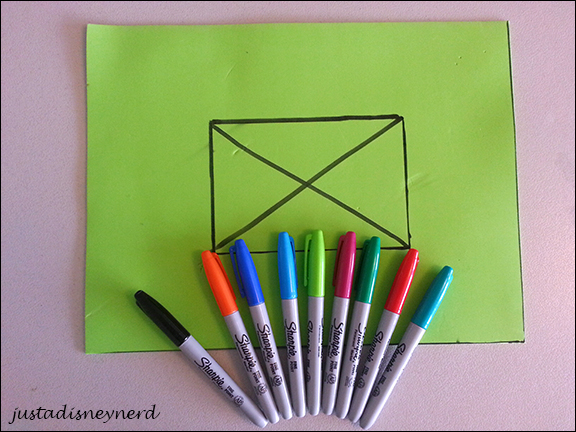
Make sure you have non-bleeding markers. I LOVE Sharpies. Using different colors will also help make your mat more fun!
Step 5:
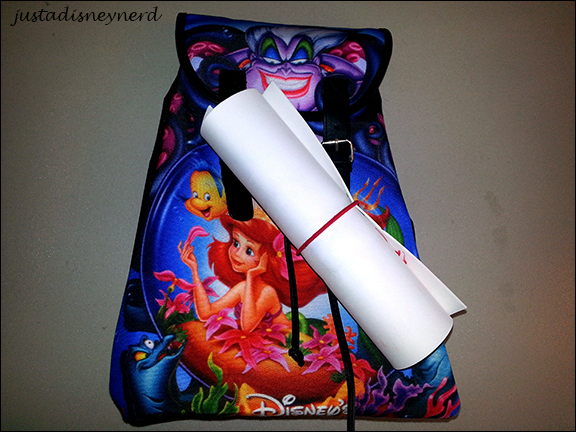
Your mat is now ready for autographs! It can easily be rolled up and held with a rubber band or spare hair tie. And fits right into your backpack for easy access.
Step 6:
When you return home you can use a box cutter or X-Acto knife to remove the center.
Step 7:

Print off your favorite picture from your trip and place into the frame along with your new mat.
Plan on using this idea on your next vacation? Let us know what you think in the comments below.
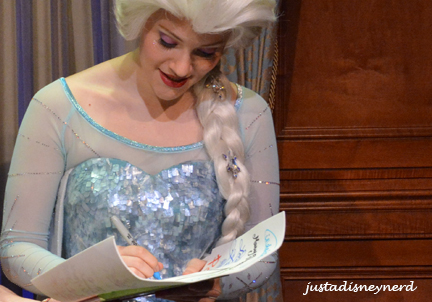
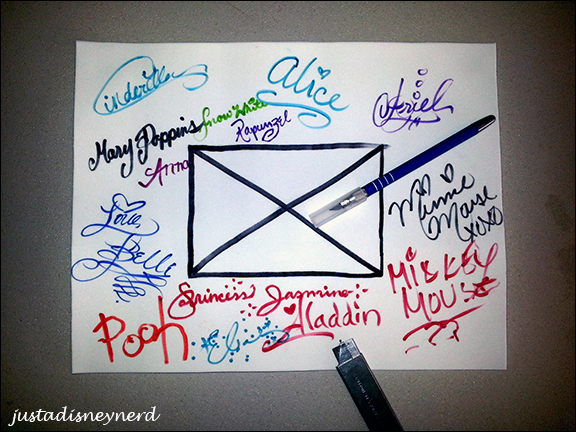
- Tip: It is a little easier for the face characters to sign the foam. Poor Mickey had a little bit of trouble with mine.
- Tip: Make sure you have something flat that characters can use to write on.
- Tip: Make sure you give the marker a few seconds to dry before rolling the mat back up.